![[Translate to English:]](/fileadmin/_processed_/1/5/csm_mobility-honda-e-side_8747039ec1.png)
Driving Instructions Honda e V2X
Disconnect the charge cable from the vehicle
Identify the reserved vehicle at the charge station and end the charging session at the charge point. Press the round button to the right of the plug on the front of the vehicle “1” and remove the charging cable. The cable remains at the charge point (and must be hung back in the holder). Close the charge flap.
Driving
- If you haven’t done so already, log in at the checkpoint with the Mobility Card. To start the vehicle, put your foot on the brake and press the Power button “2”.
- Please note: if too much time elapses between your first log-in with the card and setting off, hold the Mobility Card up to the card reader again.
- The vehicle is ready to drive when the indicator “3” comes on. Otherwise, repeat the process. The handbrake may have to be released.
- Engage driving position “D” (normal forward gear) or “R” (reverse) as required, keeping your foot on the brake.
On the road
The motor of an electric car is virtually silent. Up to 30 km/h, however, the vehicle generates a synthetic sound to alert pedestrians.
ECO mode Normal – range
ECO mode Normal (move the “DRIVE MODE” lever “4” until “normal” appears in the display) optimises the vehicle’s range. It affects certain onboard systems such as the air conditioning and power steering. An anticipatory driving style also increases the range.
Range according to the WLTP test cycle: 222 km
Range under normal driving conditions: 160 km
Please note: if the range is less than 20 km, the vehicle must be driven to a charge point immediately.
After completing your journey
Park the vehicle forwards in the Mobility bay – the charging socket is located at the front. Engage driving position P (park), pull the handbrake on and switch off the car.
Press the round button in front of the bonnet (above the Honda logo “5” on the right). The charge flap opens.
Take the charging cable from the charge point and insert it into the vehicle. Lock the car with the Mobility Card (hold card up to the checkpoint).
The charging process starts automatically. Check this by observing LED “6” at the vehicle socket: it flashes blue if the car is being charged properly.
Charging on the go
Locations Swisscharge Fast Charging Stations
On-the-go charging at a fast-charging station
- Engage driving position P (park), pull the handbrake on and switch off the car.
- Open the charge flap. Proceed in the same way as in the section “After completing your journey”.
- Remove the rubber caps from the sockets under the flap.
- Take the DC cable from the charge point and plug it into the vehicle. Start the charging process using the charging card in the vehicle’s glove box. Follow the instructions on the charge point display. In the event of problems, call the number on the charge point.
Range after 20 minutes of rapid charging at maximum charging rate: ~ 85 km
Time required for 80% charge: ~ 35 mins
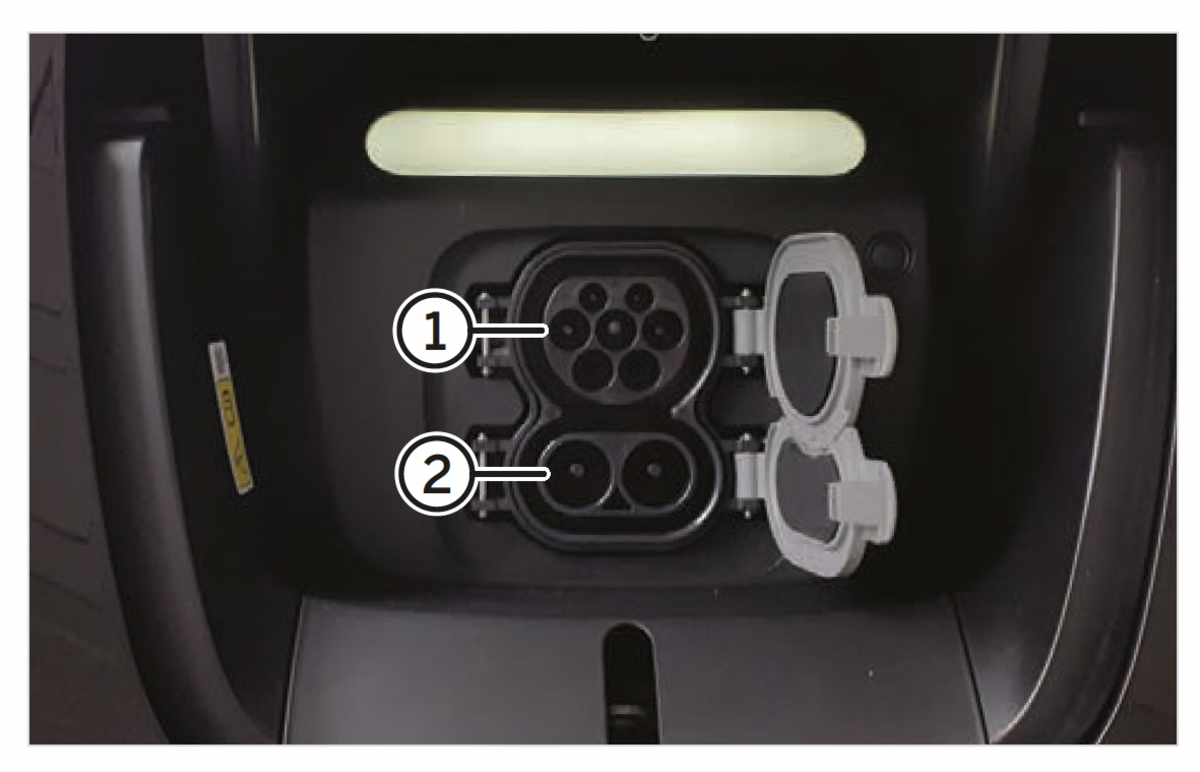
The vehicle has two sockets under the charge flap:
Upper socket “1” = AC charging, e.g. at the Mobility station.
Upper socket “1” and lower socket “2” combined = DC rapid charging.

On-the-go charging at a Type 2 AC fast-charging station
Proceed as for charging at a rapid charge station. To charge at a Type 2 charge point, only cap “1” has to be removed. In some cases, the charge cables are permanently connected to the charge point; otherwise use the charging cable in the vehicle’s boot. Don’t forget to take this with you when you’ve finished charging.
Depending on the provider, the charging process is started automatically via an app or payment by credit card (the customer can bill Mobility if payment by credit card is required). The charging card in the vehicle’s glove box can also be used. If necessary, contact the charge point’s provider.
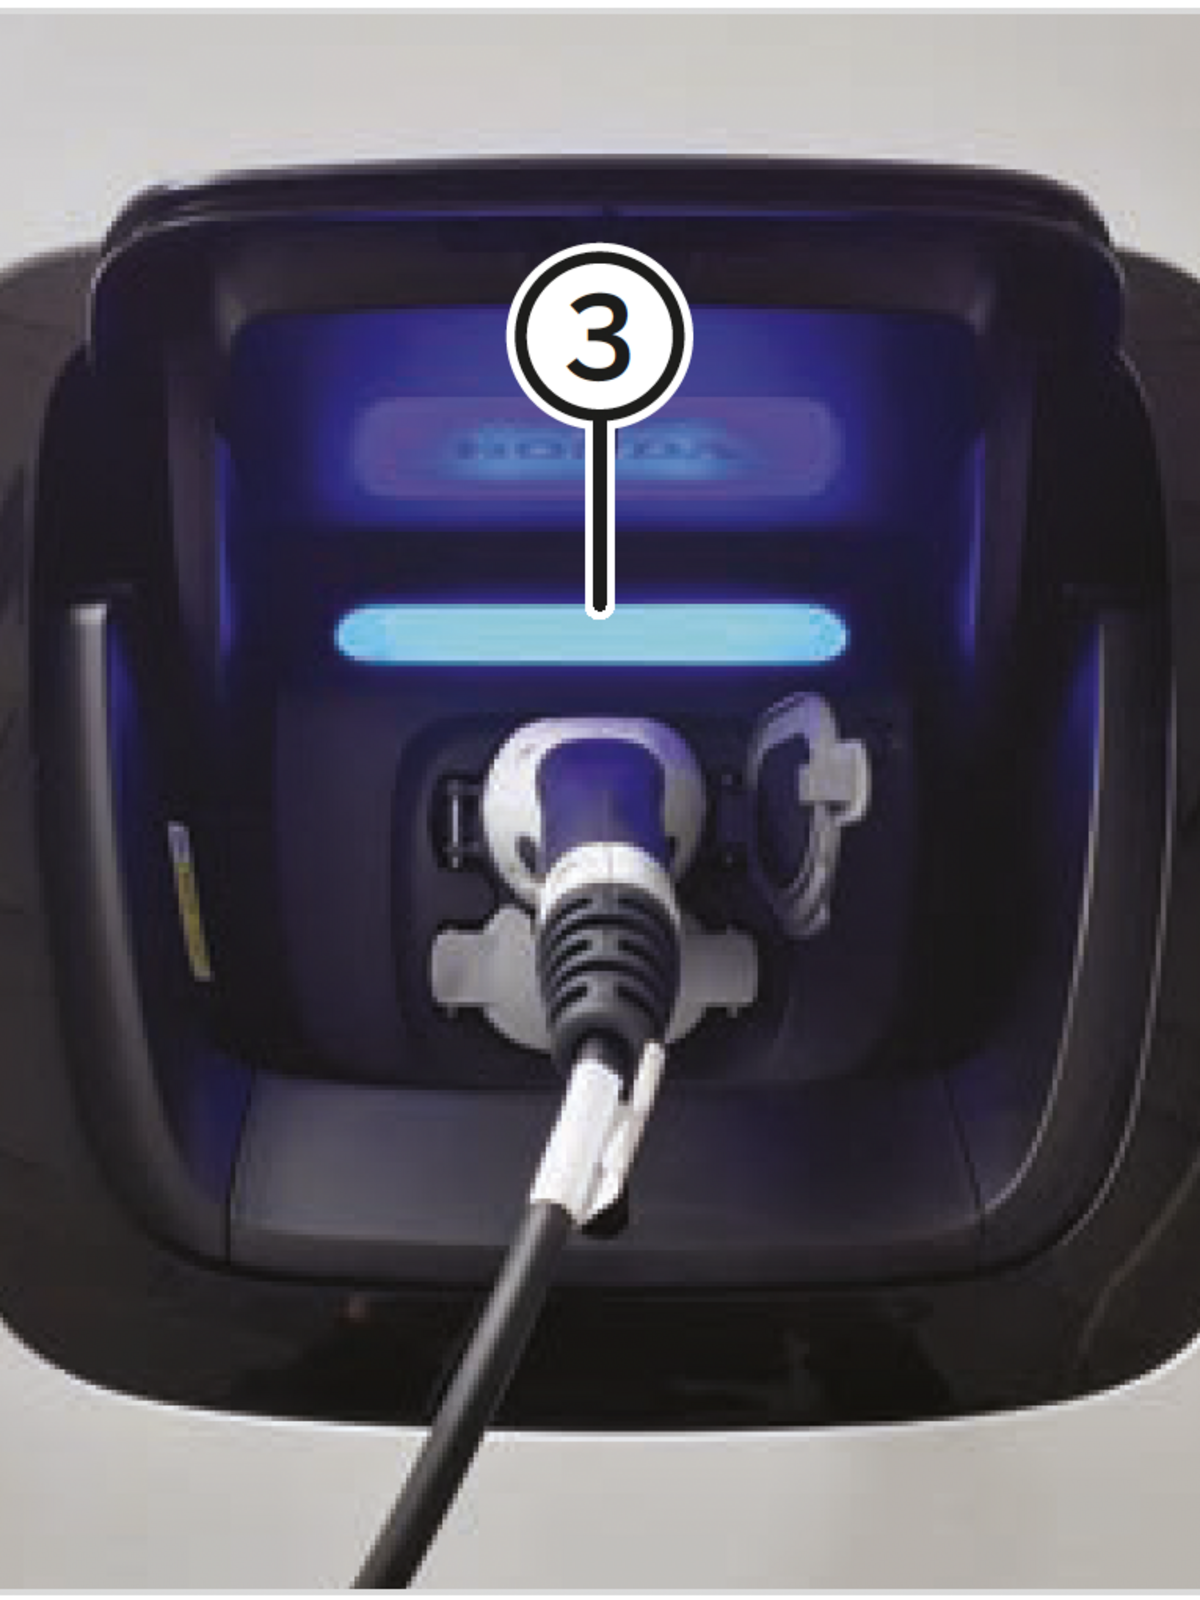
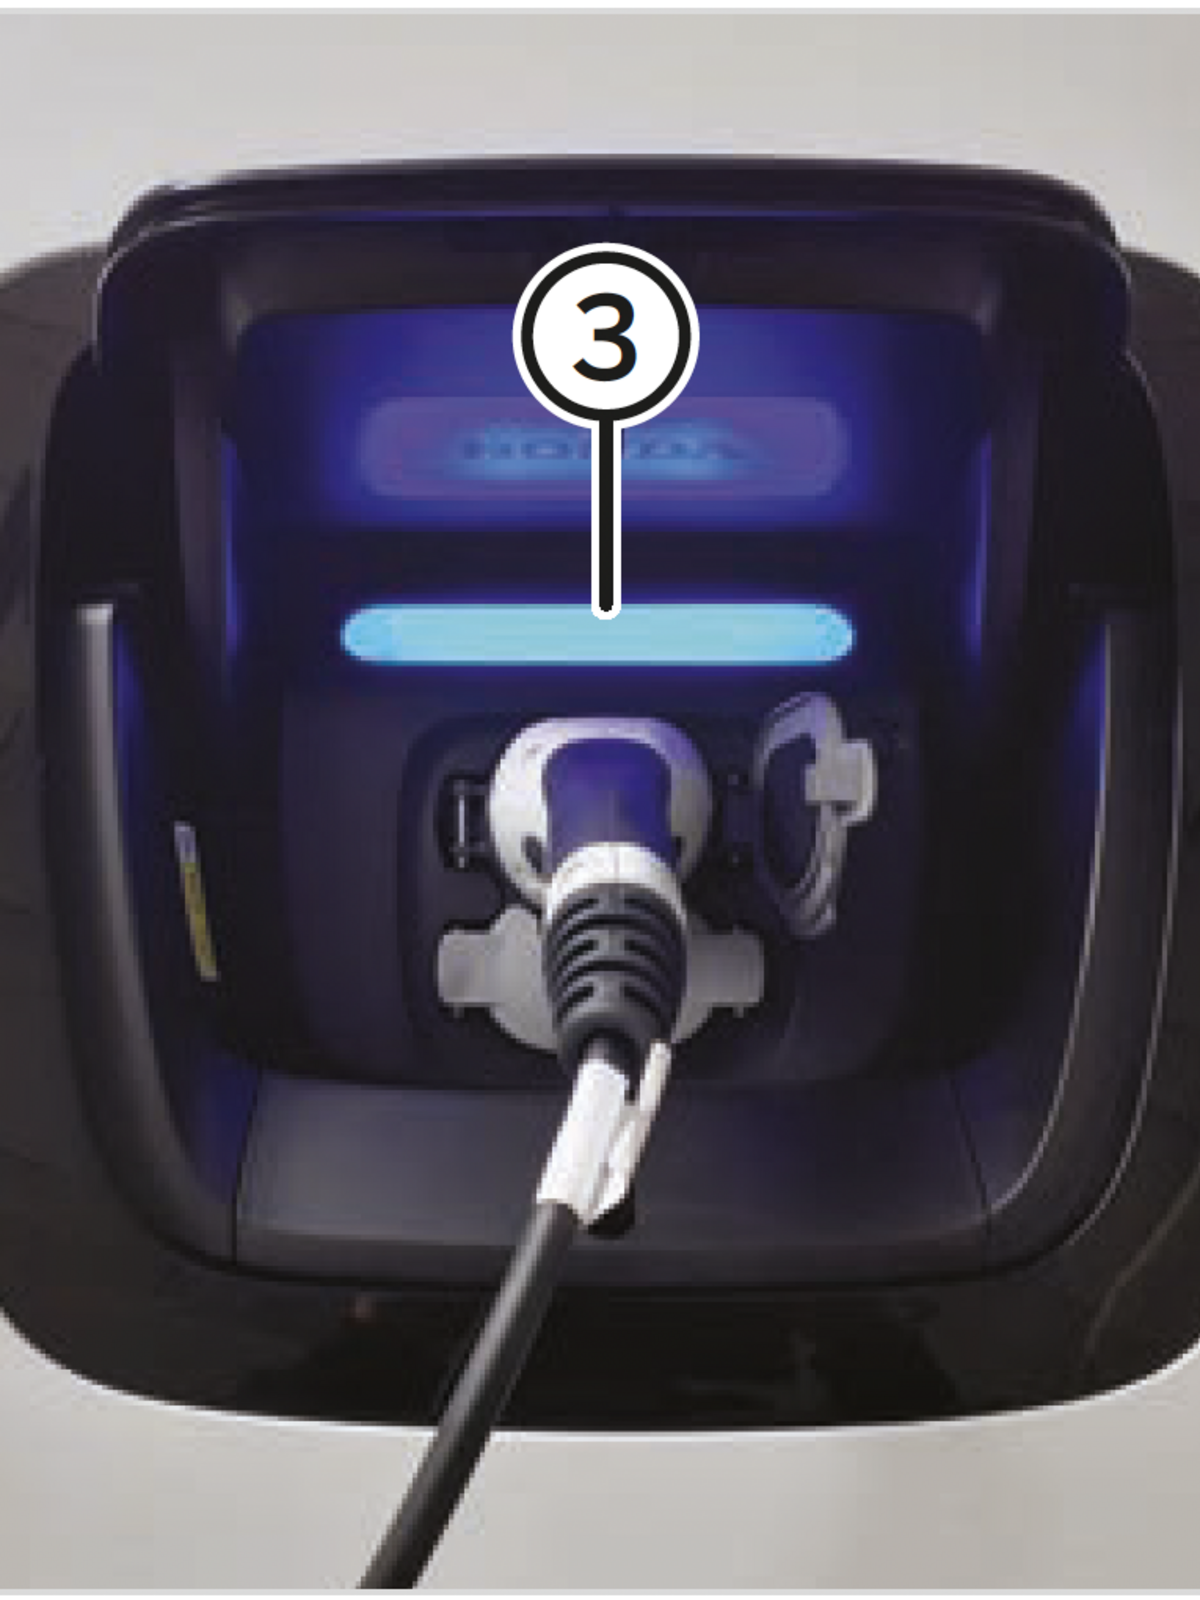
If the charging process has started correctly, LED “3” flashes blue. Check this to make sure.
Range after 20 minutes of Type 2 AC charging at maximum charging rate: ~ 6 km
Time required for 80% charge: ~ 7 hrs 40 mins

Additional charge cable
If there are no charging cables at a charge point, you’ll find one in the vehicle’s boot. This is compatible with charge points which have a Type 2 socket. Don’t forget to put it back in the car boot after charging.
If the charging process has started correctly, LED “3” flashes blue. Check this to make sure.

Remove the charging cable when charging en route
- End the charging session at the charging station.
- Make sure the vehicle is open.
- Press the button to the right of the charging socket.
- Remove the charging cable.